Wall insulation goes in
07 June 2017
In my last post, I described the options that we considered when deciding to insulate the walls in our house. We chose to remove the internal wall lining so that semi-rigid insulation could be installed.
In this post, I’ll share a few photos that show the process and a few other discoveries along the way.
Removing the wall lining
First step is to remove the wall lining. This involves the careful removal of the “gib board” or plasterboard. As you can see in the photo below, a margin of approx. 10cm is retained — this preserves the scotia and skirting boards so they do not need replacement or painting.
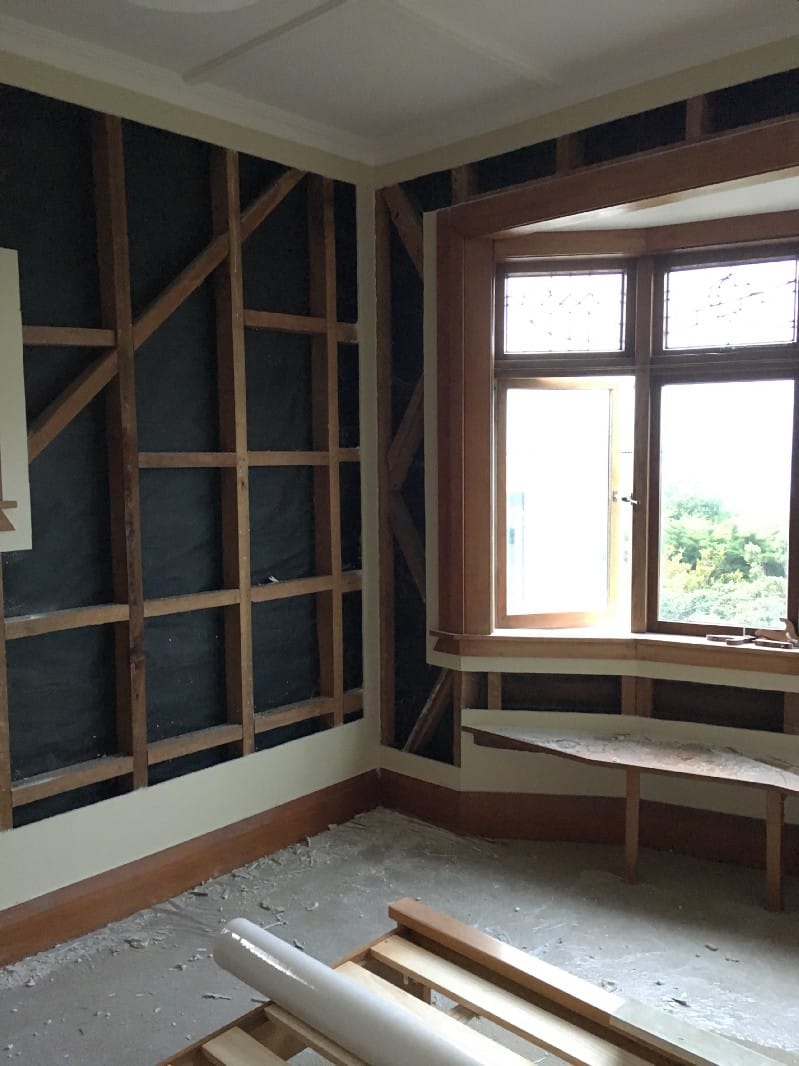
As expected, there was ZERO insulation in the walls. Although we knew this, it’s something else to see that there’s so little that separates the inside from the outside. It’s no wonder our heating bill gets so big in winter.
Here’s another pic that shows something unexpected.
Two things here: first off, you can see some pink batts. Not sure how old these are, but they’re in poor shape. The bats seem to have shrunk and gaps have appeared. Also, the pink batts are only covering about a quarter of the surface.
The second thing are these mysterious boards. Turns out these are called sarking. According to our installer, they are known for being “wind tunnels”.
It’s little discoveries like this that have helped us to be sure that we chose the right insulation option, as it allows us to resolve these oddities — and also know what’s in our walls. For example, we now know where all the studs are when we’re adding a picture to the wall.
We also took the opportunity to have an extra power outlet installed in the lounge.
Adding the insulation
Here’s a pic showing the insulation going into a bedroom.
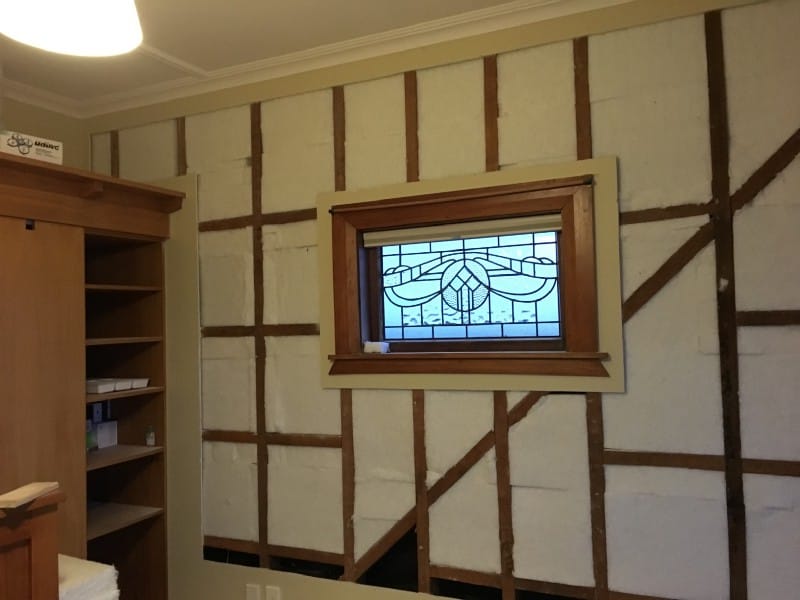
You can see that each of the panels is cut to size to match the available space. It can be challenging around the margins, but is possible.
Restore the wall lining
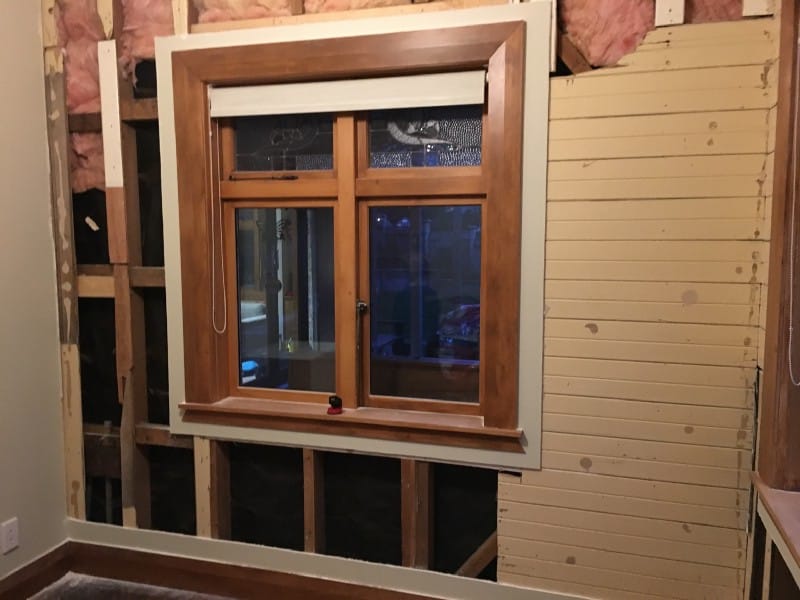
Finally, the wall lining is put back. I understand this is a combination of both nails and glue. The glue is used to attach the replacement “gib” or plasterboard to the existing, around the margins, to give it strength.
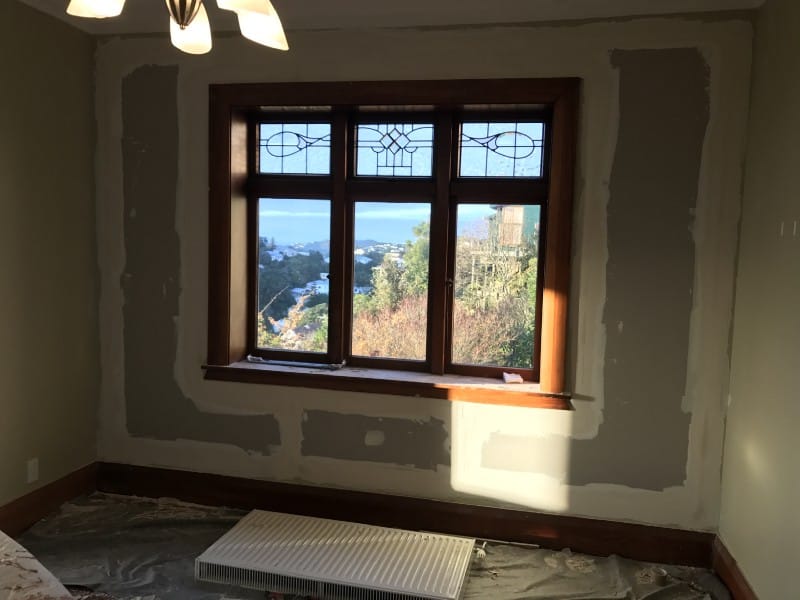
In the photo above, you can see the replacement wall lining, with the first coat of plaster. Notice the skirting and scotia are still in original condition.
Find out more about the sanding and painting in my next post.